Composting is a win-win situation! Building an organic compost pile will help reduce the amount of trash you send to the dump AND you have free reign of nutrient-rich soil to boost the growth of your garden year after year.
Compost piles can be elaborate or simple and there are a variety of methods to achieve your end result: rich compost for your garden.


HOW TO BUILD AN ORGANIC COMPOST PILE
This page may contain affiliate links for your shopping convenience, and while the links help support the blog as we may earn a small commission, there is no extra cost to you, our readers.
The first step is to choose a suitable location for your compost pile. It should be convenient to both your kitchen and your garden, in a shady location at least half the day, and within reach of your garden hose. Keep it away from wood structures, and consider whether your neighbors will have an unwanted view of it as well.
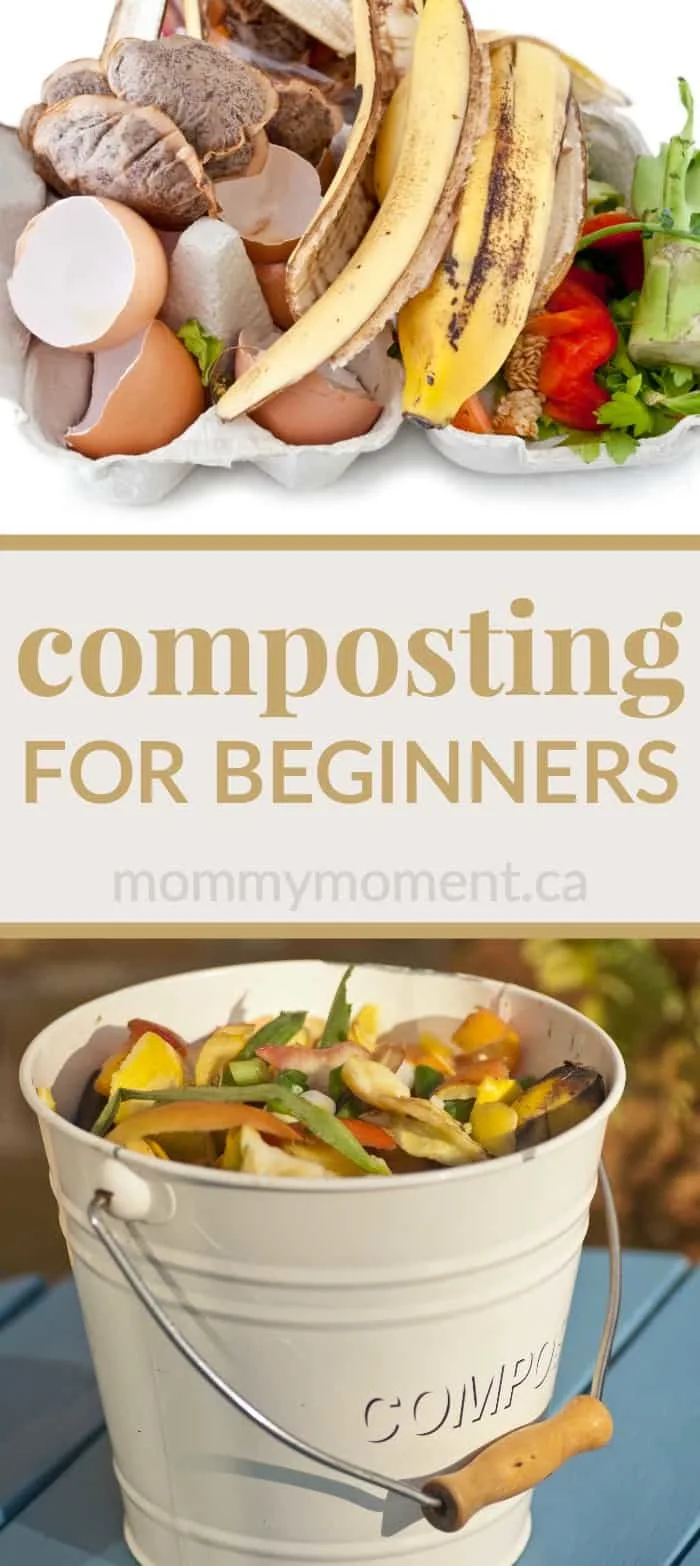
Decide if you want to build a container for your compost, recycle a container for it, or simply pile it up.
There are containers designed especially to ease the turning process, which may be desirable for someone with weakness or back problems. There are also wire compost bins that are designed for proper moisture and airflow for fast decomposition. No matter what you choose, any container needs to have holes all around it for aeration purposes. A plastic bin can be used if you can puncture holes in the sides, top, and bottom.
You can even keep a kitchen compost bin with a charcoal filter to help eliminate odors, to store compost until you take it outside.


Once location and containment have been chosen and prepared, start gathering the starter ingredients for your compost pile.
These can include grass clippings, hay, straw, shredded newspaper, vegetable, and fruit waste, eggs shells, coffee grounds, fallen leaves, weeds, vines, and loose dirt. To speed up the composting process you can add manure, natural fertilizer, or worms. Large items should be chopped or shredded before adding to the pile.
Now begin to layer the items.
Start with your first layer of dry brown ingredients, such as shredded newspaper, hay, leaves, or dry grass. This layer should be several inches thick.
Now add green or colorful items, such as vegetable waste, grass clippings, weeds or vines. This layer should be up to 6 inches thick, depending upon the density of the items. Grass clippings should be no more than 1 inch thick.
Layer about 1 inch of loose dirt on top of the green layer. The dirt contains ingredients that will begin the decay process in the lower items.
If you choose, add a thin layer of manure or fertilizer above the dirt.
Repeat the layers, beginning with the brown layer. Build your pile no higher than it is wide. Once you are done, you can let loose a can of worms to munch away at the ingredients.
Once your compost pile has been started, add vegetable waste and yard clippings as they become available. There is no need to bury them at this time unless pests become a problem.
Turn your compost pile about once a month using a pitchfork or compost turner. Try to rotate the inner and outer ingredients. Once it has been rotated, you can add a new set of layers to the top. If your pile dries out, lightly moisten with water.
A compost pile should be ready to use in 3 or 4 months. Compost piles will not decay during cold winter months unless they are insulated, but it is possible to compost during the winter.
You may also like this post on COMPOSTINGS FOR BEGINNERS:

You can sign-up to get an email update each day. You can also connect with us on:
Building and maintaining a compost pile is a good way to reduce trash and increase the quality of your garden. Done right, it will provide you with a large supply of nutrient-rich soil for your garden and perhaps enough to share.