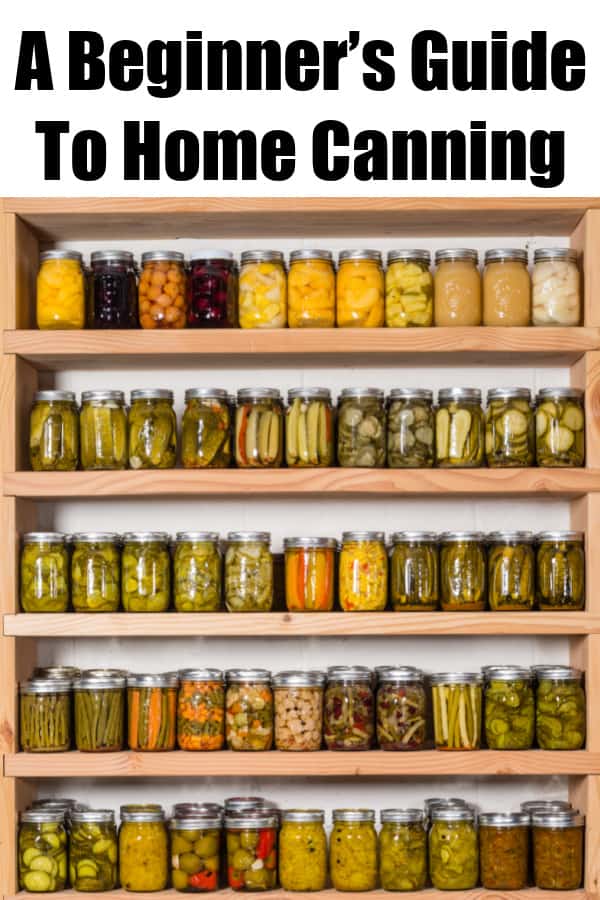
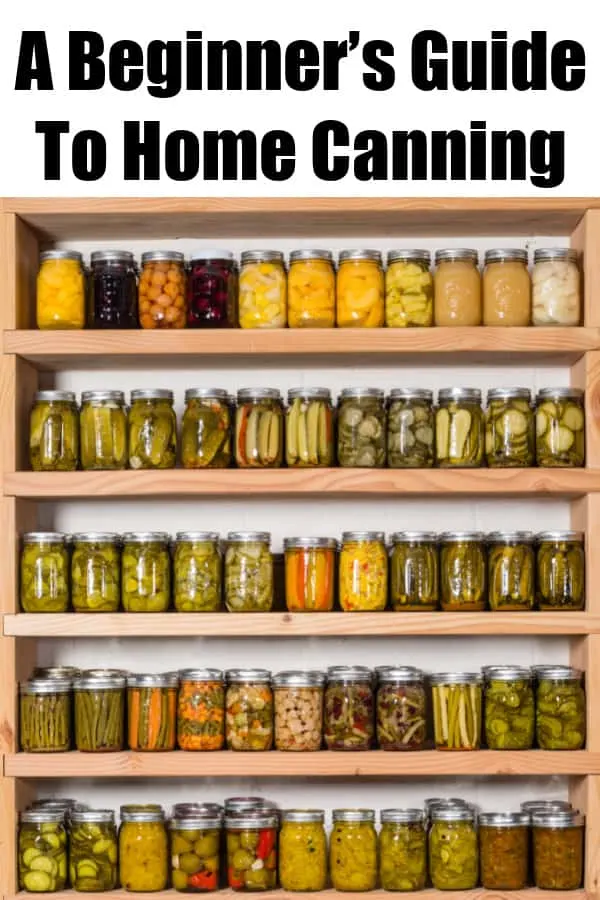
Home canning is a great way to enjoy delicious, healthy foods all year round. Not only will you be eating better, but you’ll save money, too.
While canning seems like a lot of work and time-intensive, you’ll actually be saving time in the long run because you won’t be running back and forth to the store as often.
If you’ve been toying with the idea of getting into home canning but are worried that it will be too hard, rest easy. Once you get the hang of it, you’ll be able to do it easily.


BEGINNER’S GUIDE TO HOME CANNING
This page may contain affiliate links for your shopping convenience, and while the links help support the blog as we may earn a small commission, there is no extra cost to you, our readers.
TYPES OF CANNING METHODS
When you decide to start home canning, you’ll need to choose the method that’s right for you. There are two basic home canning methods that have been proven to keep food nutritionally sound and prevent the development of bacteria.
You can use the boiling water method or the pressure method. Either one of these methods is able to keep air from spoiling the food and to seal it up tightly for future use.
When you’re using boiling water as your method of canning food, make sure that the water reaches the correct temperature. The boil needs to be a hard boil, not a soft one.
If you decide that you’re using a pressure cooker, you’re using steam to preserve the food that you want to store. The steam heats the food to the proper temperature. But you want to make sure that that the pressure level is kept at the temperature it’s supposed to be at to prepare the food. If it varies, then you need to begin your time again.
HOME CANNING EQUIPMENT YOU NEED
Next, you have to make sure you have the right equipment. If you’re going to use the water boiling method, then you’ll need a Dutch oven or a large stockpot. You’ll also want to make sure that you have pots that you can use to boil the lids for the jars.
Because the water that you’ll be using is going to be scalding hot, you’re going to need a safe way to get the jars out of the water. What many home canners have found very helpful for this task is a jar lifter.
You can use the jar lifter to pick up the jars once they’ve gone through the processing period. The jar lifter that you get should have rubber on the bottom grips that hold onto the jar so that the jars won’t slip-free.
Having a funnel for home canning is a must. Trying to get the food into the jars can be a hassle because you’ll have to deal with a splash-over. Since the funnel is wider than the mouth of the jar, it makes the process of transferring food to the jar faster and neater and it keeps food from the rim of the jar.
You’ll also want to get an air bubble remover. It allows you to be able to remove the air bubbles from the jars to ensure that your food is safe.
Make sure you also have something that you can use as a headspace tool. When you can food, you have to have some headspace because the food that you put in the jar will expand.
For meat have between an inch to an inch and a half of headspace. Use at least an inch for vegetables and a half an inch for fruit. If you’re going to make jelly or some kind of spread, you only need about a fourth of an inch of headspace.
After you’ve canned the food, you’ll want to push your finger down in the middle of the lid. If you feel any give to it, it means the seal isn’t good. If the lid doesn’t move beneath your finger, then it is sealed properly.
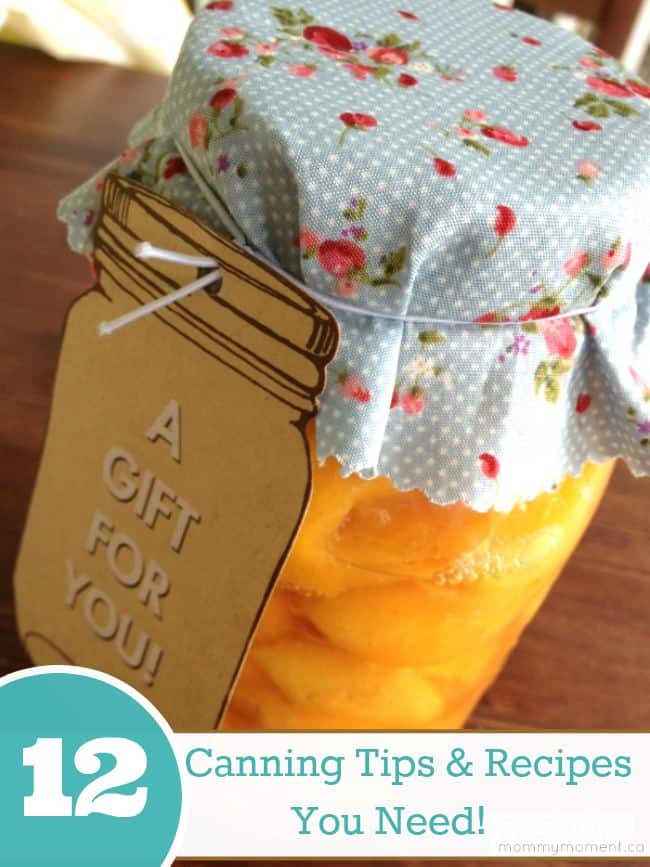
You may also like 12 CANNING TIPS & RECIPES YOU NEED:

You can sign-up to get an email update each day. You can also connect with us on: